With proxmox you can create custom Linux templates with packages or files preconfigured by you, and then customize IP, user/password management with cloud-init.
To start, we need generic cloud image which is basically a VM disk file with preinstalled system, qemu-guest-agent and cloud-init
Let’s make AlmaLinux 9 template for example. Generic cloud images can be found here - repo.almalinux.org
Template VM Creation
Download disk image
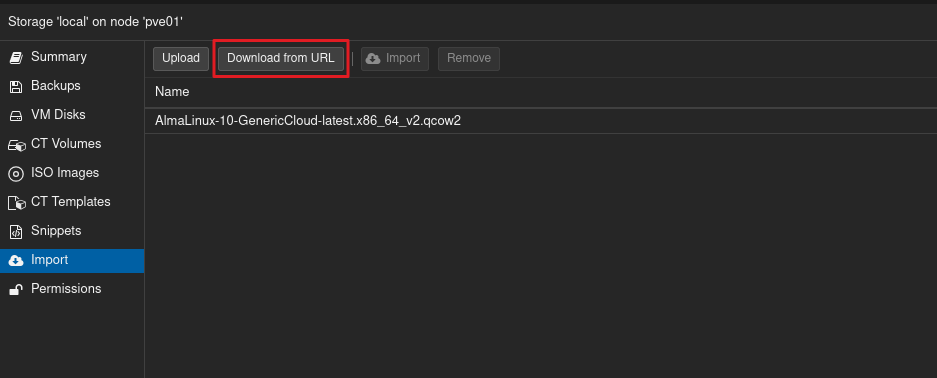
- In proxmox, open datastore, e.g
local-lvmorlocal - Open
Import - Choose
Download from URLand paste link of desired .qcow2 file
Prepare VM
Now we need place where this qcow2 disk image can be mounted to as main disk. Create Virtual machine with following speicfications:
- No disk and CD attached
- 2vCPU
- 2048MiB RAM (less is not recommended)
| General | OS | System | Disk |
|---|---|---|---|
| ID: 800x | Do not use any media | [x] Enable guest agent | Delete default disk |
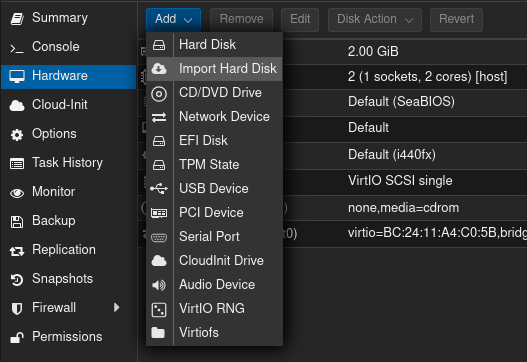
Attach disk
In VM settings, go to Hardware tab:
- Add Disk
- Import hard disk
- Choose .qcow2 which you have downloaded
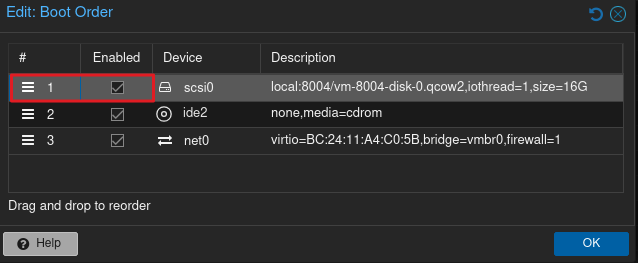
Navigate to Options
- Click on boot order
- Enable imported disk and place on 1st place
Cloud-init
Configuration
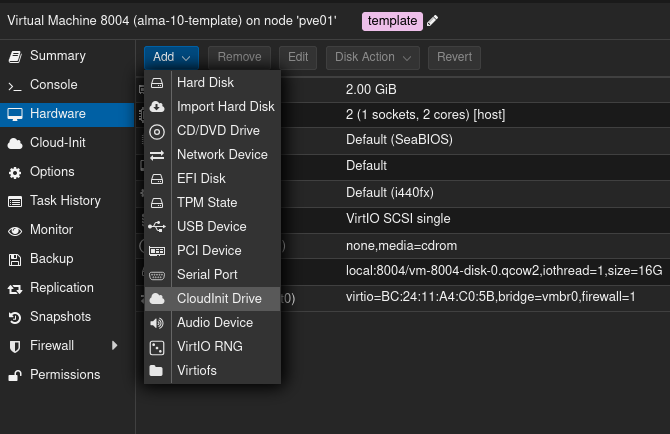
Now we need to add cloud-init drive for OS to automatically configure Network, Users, SSH Keys and etc.
Navigate to Hardware
- Add disk
- Add cloud-init drive
Navigate to Cloud-Init and configure accordingly
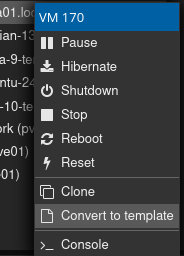
Convert VM
Start VM and install all nescescarry packages and make configurations which will then be present on VM’s created from this template
After you’re done, run following command
|
|
And then convert server to template